Adding and Managing WordPress Images
Tutorial by Max Olson
04.28.2015
Access Page or Post
1) Login to the administrative back-end for your website.
- Open your browser and go to: www.yoursite.com/wp-admin.
- Type in your username and password and log in.
2) Select Page or Post
- Images can be added to both pages and posts. Both share the same way of implementing images.
- Select the page or post you would like to add an image to. If you do not know how to do this, please refer to our tutorials on editing pages and editing posts.
Uploading Images
- Once you have accessed the page or post you wish to upload an image to, select the “Add Media” button located above the main text field (displayed below in red).
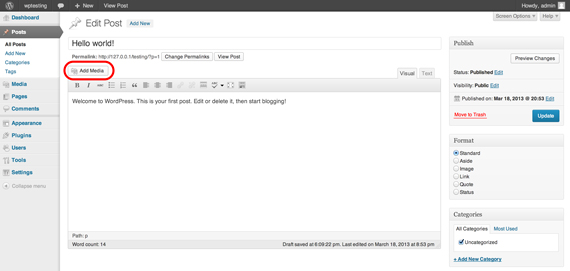
- You should now see a popup labeled “Add Media”.
- Across the top, there are two options. I will briefly describe each option’s purpose before going into greater detail.
- Upload Files – This option allows you to upload images that are on your computer. Simply select the “Select Files” button and find the image you are trying to upload.
- Media Library – This is where you can select images that have previously been uploaded.
Uploading Images – Editing/Styling
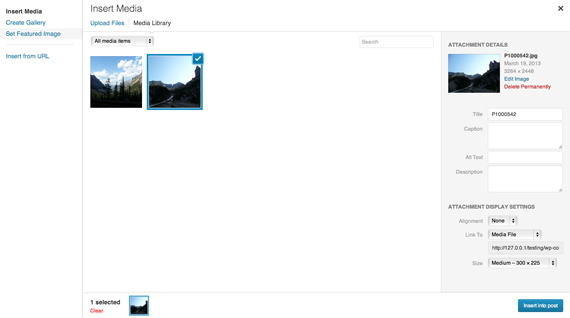
Once you upload an image you can edit and style it within the Media Library (as displayed below).
- In the editing/styling options, you can input a title, alternate text, captions, and descriptions. Alternate text is highly recommended, because it serves as replacement text in case the image does not load and also helps for SEO (Search Engine Optimization) purposes.
- The “Link URL” is where you input a URL in order to make the image a link.
- Alignment options specify how you want your image to be aligned.
- Size options specifies the image size displayed on your website.
- Once you have made your changes, select “Insert into post/page” located at the bottom of the editing/styling box.
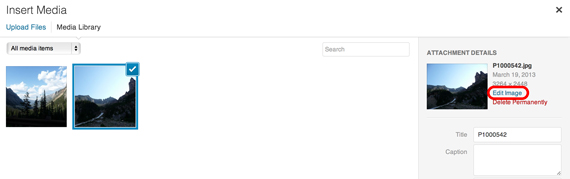
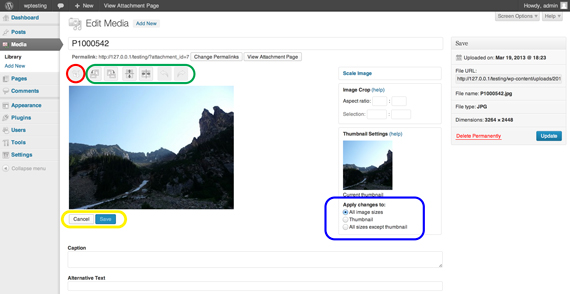
- You can also select the “Edit Image” button in order to make certain transformations to your image (displayed below in red).
- In order to crop your image, simply drag your mouse across the photo and select the crop button located above the image (displayed below in red).
- Other options allow you to rotate images, reflect images both vertically and horizontally, and undo any edits you’ve made (displayed below in green).
- When making such edits, you can select whether you want to apply changes to all image sizes, the thumbnail, or all sizes except the thumbnail (displayed below in blue).
- Below the image are cancel and save buttons, which allow you to cancel or save changes you make to your image (displayed below in yellow).
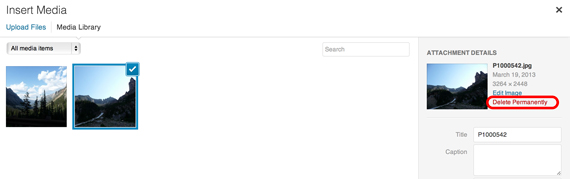
Deleting Images
- Within the “Media Library” there is a red “Delete Permanently” link (displayed below in red). Select this link and your image will be deleted.