Editing Photos: A Lightroom CC Overview
Tutorial by Jen Vuong
04.24.2019
This is a very simple overview of the editing controls in Lightroom. As you work with the program over time, you’ll be able to figure out your editing style with your favorite combination of tools.
With these light controls, you have the ability to adjust the brightness and appearance of colors in your photo.
Highlights: (-) decreases the light and brings out color / (+) brings out more light
Shadows: (-) darkens the shadows / (+) lightens the shadows
Whites: (-) decreases whites in photo / (+) increases whites in photo
Blacks: (-) increases blacks in photo / (+) decreases blacks in photo
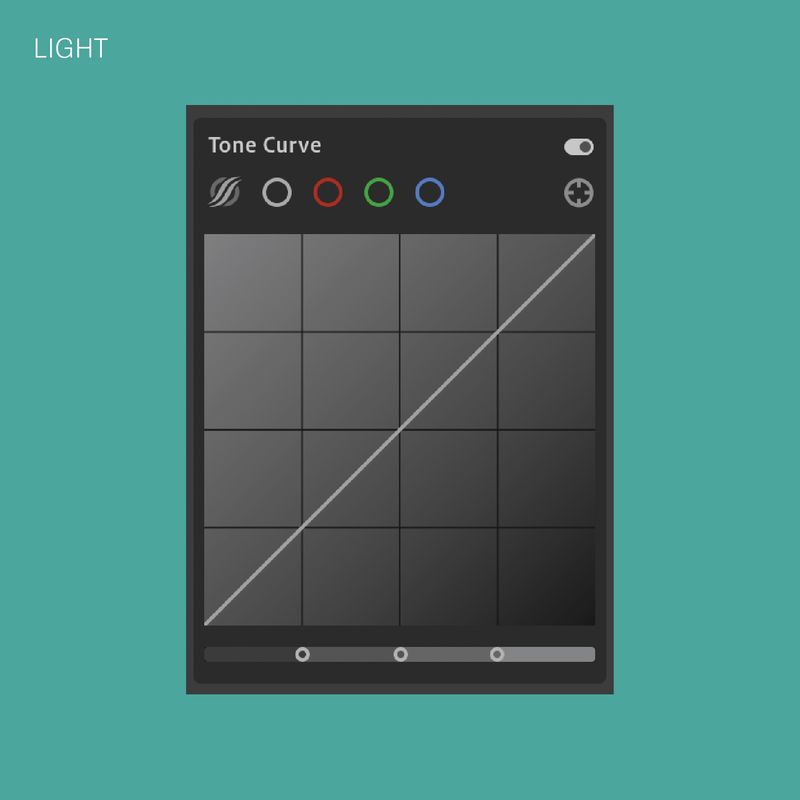
Tone curves: Working with tone curves give you even more control in getting the lighting that you want.
Depending on how your original photo is shot, editing the white balance of the photos can help neutralize to tones that you want, or can create crazy color effects to fit your mood.
Temperature: (-) cool down the photo / (+) warm up the photo
Tint: (-) increase the greens + yellows in the photo / (+) increase pink in the photos
Vibrance / saturation: (-) decrease overall colors / (+) increase overall colors
Color mixer — This helps you target specific colors. For example, you may have chosen to decrease the overall saturation of a photo, but you want a pop of red to stick out. With this tool, you’re able to change the tones and vibrancy of the red to fit your edit.
Effects — with the help of effects, you can achieve different looks that you won’t typically get with a simple shot. For example, you can create a hazy, dreamy effect with the ‘dehaze’ option, or create a film photo by adding grain.
