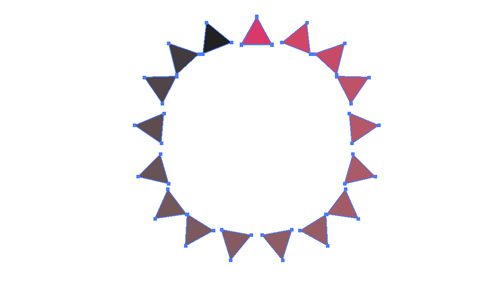
Learn how to wrap a pattern around a circular path using Adobe Illustrator.
Start by creating a circle, an object you want to wrap, and a “copy and pasted” verison of the object (as shown below).
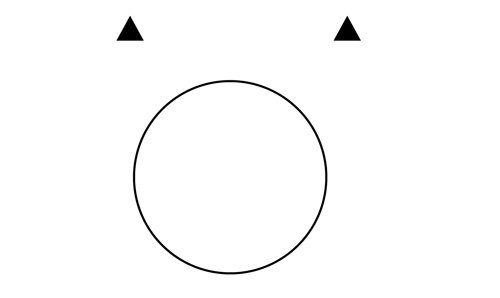
Highlight both objects and select “Object” => “Blend” => “Make”. You should now see a continuous pattern between your two objects.
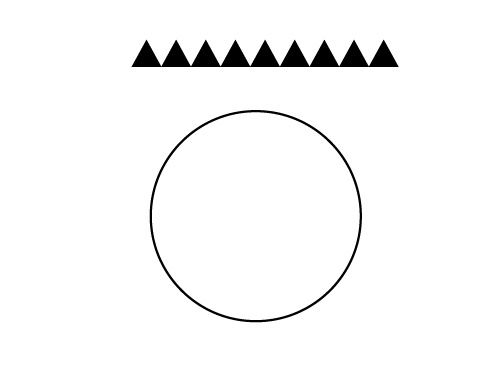
Now highlight the newly blended path and the circular path and select “Object” => “Blend” => “Replace Spine”.
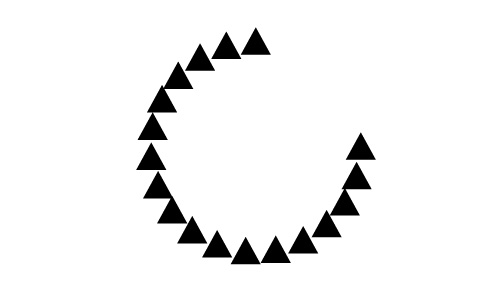
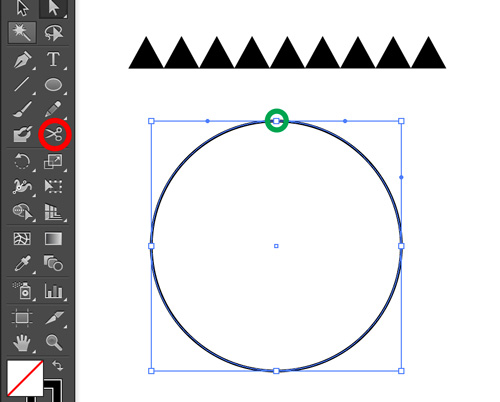
Notice how the object does not wrap around the full circle. This is not what we want, so let’s go back a step so that the blended object and the circle are separate. Select the scissor tool (displayed below in red) and click on one of the points along the circular path (displayed below in green). You will not notice any changes, however, your circular path is now split at the point you just selected with the scissor tool.
Now if you select “Object” => “Blend” => “Replace Spine” again, you should see something similar to what is displayed below.
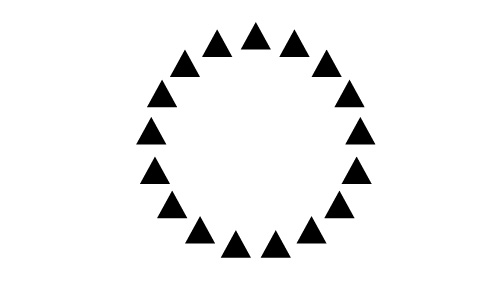
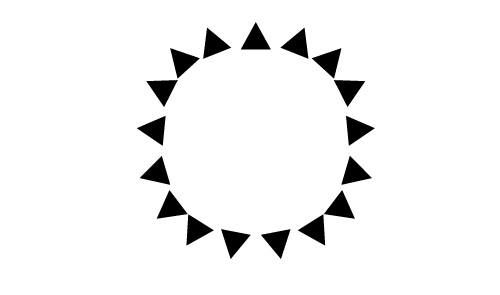
We have successfully wrapped an object around a circular path. However, I’m still not satisfied with how it looks. I want it to look more like a sun, with the triangles pointed outward. Therefore, with the blended path highlighted, let’s select “Object” => “Blend” => “Blend Options”. Under “Orientation” select the “Align to Path” button (the button to the right). If you select the “Preview” box, you can see how the triangles are now pointed outwards.
We also have options for “Spacing”. There are three options:
- “Smooth Color” makes a continuous colorful gradient if you are blending objects with different colors.
- “Specified Steps” allows you to input the number of steps or repeated objects.
- “Specified Distance” allows you to specify the distance between each one of your objects.
Once you have made the changes you like, select OK, and you should get a result similar to what is displayed below.
EXTRAS:
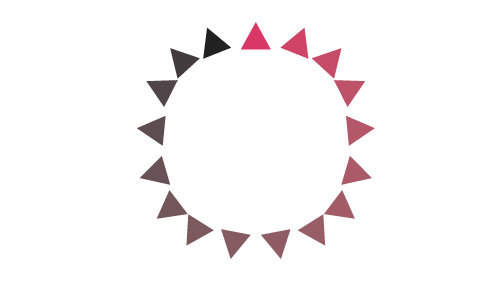
If you change the color of one of your objects, the blend mode fades the colors.
If you want control over each object that is wrapped around the circular path, highlight the path and select “Object” => “Expand” => “OK”. Now each one of your objects is a shape and can be edited accordingly. NOTE: Once you expand a blended path, you can no longer edit the path itself.
