

Car In Illustrator: Create a 240Z
Creating a car in Illustrator is fun and relatively easy. Obviously everyone has their own artistic style and I recommend that you integrate your style into your designs. This tutorial goes over some basic techniques when creating a car in Adobe Illustrator.
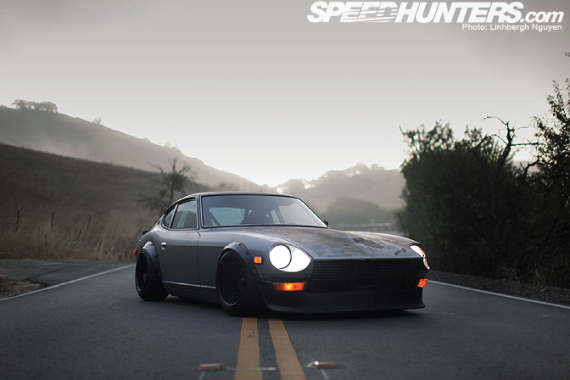
Step 1: Find an image of a car to work from
I will be using this awesome picture of a 240Z that I got from Speedhunters, a blog for car enthusiasts.
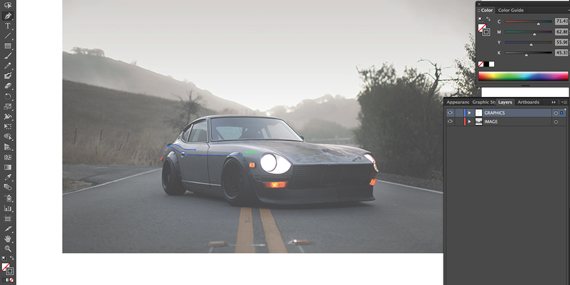
Step 2: Outlining your car in Illustrator
From here we will outline the car. I like to keep my design and the image I’m working with in separate layers.
The most important thing to keep in mind when outlining cars in Illustrator, is that shape is everything. Your outline doesn’t have to be perfect (my outline never is), but you should focus on what makes the car design unique. Focus on curves, angles, and relative sizes.
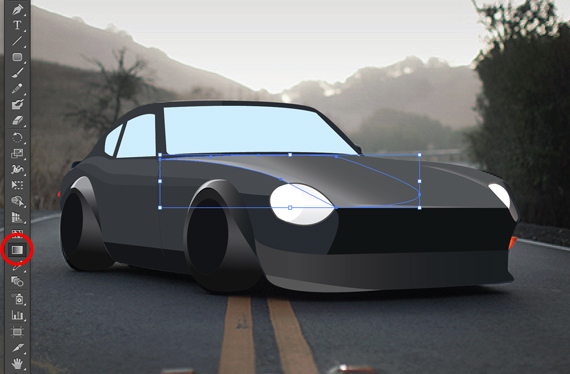
To begin outlining, select the pen tool. You should outline according to areas you plan on having different fills (shades, colors, or gradients). For example, below I display how I’d outline this lighter edge separate from the rest of the door.
Keep in mind that things will overlap so you can get lazy when outlining sections that will be covered by other layers (I do!).
Step 3: Applying Colors/Gradients to your car in Illustrator
Most cars are a single color. Therefore, the different values are usually caused by reflected light and angles in the car design. It’s not always the case, but softer changes in value are often caused by light reflecting off of flat surfaces while harsher changes in value are often caused by angles in the car design.
I tend to use flat colors to show harsher changes in value (ie edges along the side) and gradients to show softer changes in value (ie the hood).
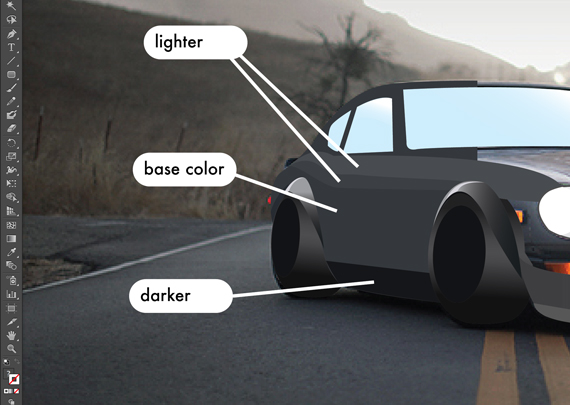
Flat Colors
I usually start by applying flat colors to my design. I start with the area that is least affected by any reflecting light and use this as my base color. I fill in surrounding areas with the same base color using the Eyedropper Tool, and then alter the color to be a little darker or lighter as displayed below.
Gradients
I will now apply gradients. As stated earlier, I usually apply gradients to capture light reflecting off of flat surfaces, such as the hood of the car. You can edit the gradient using the Gradient Options (displayed below).
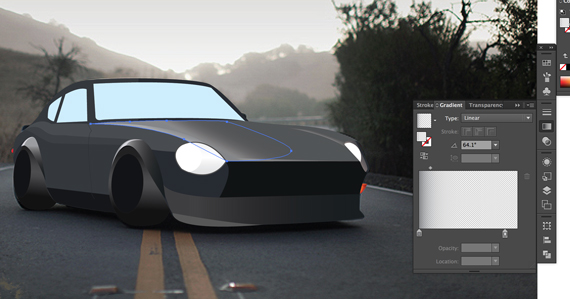
You can edit the direction and length of the gradient using the Gradient Tool (displayed below in red).
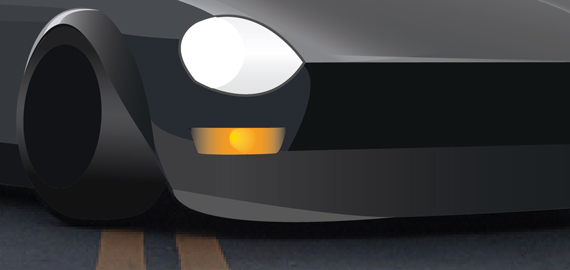
Sometimes it’s necessary to use radial gradients when creating a car in Illustrator. For instance I did this when creating the highlights on the orange turn signals. You can do so by selecting “Radial” under “Type” within the Gradient Options (displayed below).
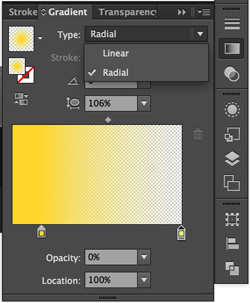
You can also edit the radius and origin placement using the Gradient Tool.
In this case I created a yellow to transparent gradient and offset the origin to the left.
Step 4: Style it and Make It Your Own!
Now that you have learned some basic techniques to create a car in Illustrator, have fun and add textures, backgrounds, shadows, typography, and whatever else you may want to add.
For example, I added a subtle grain texture. I did this by creating a black shape, and selecting “Effect => Texture => Grain”. I placed this shape over the car and set its opacity level to 5%.
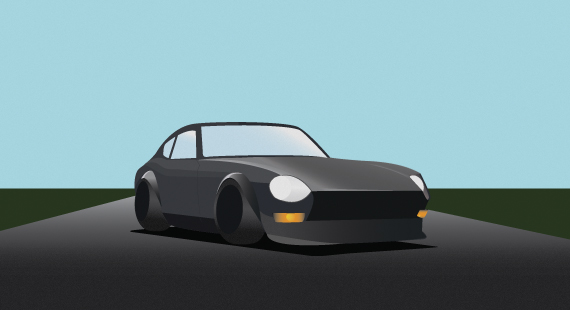
As I mentioned earlier, this is a tutorial to help you learn some new techniques. I’ve left the design possibilities up to you. Use these techniques in your own style and create some cool looking car graphics!
If you still don’t feel comfortable using Illustrator, you can also checkout a fundamentals course here: Illustrator Fundamentals


